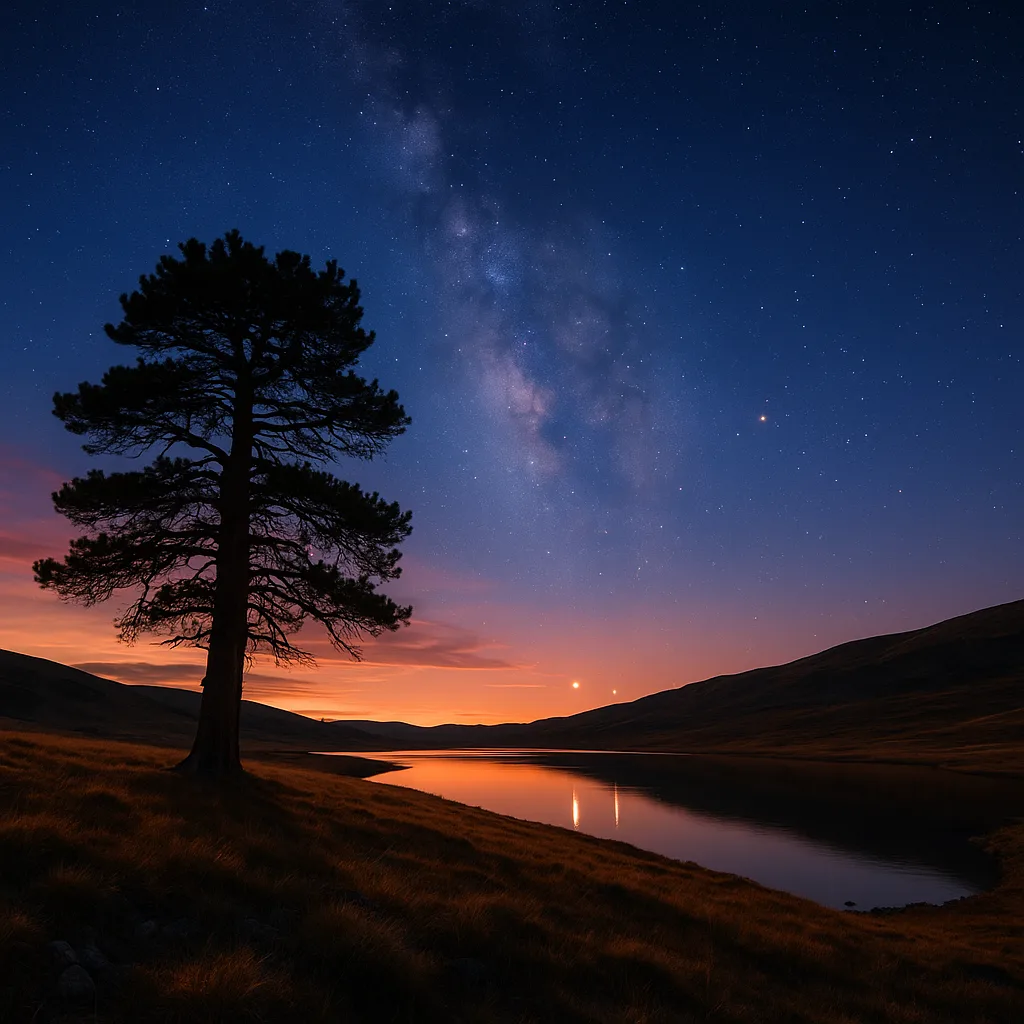
Whether you’re standing beneath a rural sky or viewing from a city balcony, identifying stars and planets is a mix of pattern recognition, physics, and simple fieldcraft. This guide treats star identification like a naturalist would a species—observe color, brightness, behavior, and context—then use coordinates, seasonal patterns, and tools to confirm your sighting. Practical tips, quick comparisons, and real measurements make this a field-ready manual for beginners through intermediate stargazers. Orvik, an AI-powered visual identifier, can accelerate this learning by analyzing photos and suggesting matches in seconds.
1. Foundations: How Stars and Planets Appear
Before you can identify objects, you need to know what visual cues to trust. Stars and planets are both bright pinpoints, but their physical nature and observational signatures differ.
Key physical and observational facts
- Apparent magnitude: a logarithmic scale of brightness. Lower numbers are brighter; e.g., Sirius ≈ −1.46, Vega ≈ 0.03, dim naked-eye limit ≈ +6.0 under dark skies.
- Spectral class and color: O, B, A, F, G, K, M. O/B = blue (~30,000 K+), A = white (~7,500–10,000 K), G (Sun, G2V ≈ 5,780 K) = yellow, K = orange, M = red (<3,700 K).
- Angular size: stars are effectively point sources to the eye and small telescopes (<0.01 arcsecond physical diameter as seen). Planets have resolvable angular diameters: Jupiter ~30–50 arcseconds, Mars ~3.5–25 arcseconds, Venus up to ~60 arcseconds.
- Twinkling (scintillation): atmospheric turbulence causes stars to scintillate more than planets, which usually shine steadier.
Practical visual cues
- Color: note hue at first glance—blue-white, pure white, yellow, orange, red.
- Blinking vs steady: quick shimmering = star; steady, persistent disk = likely planet.
- Pattern: stars form constellations and asterisms; planets typically lie near the ecliptic plane.
2. Identify the North Star (Polaris): The Cornerstone
Finding Polaris simplifies northern-hemisphere orientation and is often the first goal of a novice. Polaris sits very close to the north celestial pole and changes position only slowly due to precession.
How to find Polaris
- Locate the Big Dipper (Ursa Major): find the bowl and the two pointer stars at the outer edge, Dubhe (α UMa) and Merak (β UMa).
- Draw an imaginary line from Merak through Dubhe and extend it about 5× the distance between them; it points to Polaris (α UMi).
- Alternatively, use Cassiopeia’s W shape on the other side of the pole as a secondary guide; the central V of the W points toward Polaris.
Polaris at a glance
- Spectral type: F7 (yellow-white) supergiant in a multiple-star system.
- Distance: ~430–440 light years (Gaia data give ~433 ly depending on parallax solution).
- Offset from true north: ~0.7° (as of early 21st century), so it’s a compass proxy—accurate enough for general navigation.
3. Stars vs Planets: How to Tell Them Apart
People searching for "identify planets in the sky" or "identify stars in the sky" want quick, reliable markers to separate the two. Here’s a field checklist.
For more on this topic, see our guide on Mastering Visual ID: Your Photo Identifier Guide.
Observational tests
- Location: planets hug the ecliptic (path of the Sun and Moon), running through constellations of the zodiac.
- Brightness & flicker: planets are generally steady and sometimes extremely bright (Venus to ≈ −4.6). Stars twinkle more noticeably.
- Motion night-to-night: planets move relative to stars. Watch a bright point over several nights—if it shifts against the background, it’s a planet.
- Spectrum & color: planets reflect sunlight—look for subtle color hints (Mars distinctly reddish, Jupiter pale yellow/white, Saturn creamy with a slight yellow). Stars show colors tied to temperature.
Comparison: Example magnitudes (typical ranges)
- Venus: −4.6 to −3.9 (very bright at dawn/dusk)
- Jupiter: −2.9 to −1.6
- Mars: −2.9 to +1.8 (varies dramatically by opposition)
- Saturn: −0.5 to +1.5
- Sirius (brightest star): −1.46
4. Tools & Techniques: From Naked Eye to AI
Best results combine naked-eye pattern recognition with optical aids and software. Each tool has trade-offs in portability, power, and learning curve.
Field tools
- Planisphere (rotating star chart): inexpensive, shows which constellations are visible at a time and date.
- 7x50 binoculars: wide field, magnification and light-gathering ideal for beginners; see open clusters, binary stars, and planetary disks at high magnification.
- Small Dobsonian telescope (6"–8" aperture): high light gathering for deep-sky objects; good for resolving Jupiter’s cloud bands and main moons.
- Smartphone apps and AI tools: apps like Orvik can identify objects from a photo, suggest names, and provide context such as RA/Dec and spectral class.
How to use Orvik and apps effectively
- Take a photo with a steady mount or tripod and include horizon if possible to help the app estimate orientation.
- Use the app’s overlay to match asterisms; Orvik combines image recognition with star catalogs to name stars, planets, and constellations.
- Cross-check: apps are fast but sometimes mislabel near-bright-star artifacts or lens flares—confirm with pattern-matching and magnitude data.
5. Practical Field Guide: Step-by-Step Identification Workflow
A practical method reduces guesswork. Use this workflow when you step outside to identify an unknown bright object.
You may also find our article on Field Guide to Visual ID with Orvik helpful.
Step-by-step checklist
- Note time, date, and location (latitude/longitude). Season and latitude significantly affect which constellations are up.
- Scan for known landmarks: identify Polaris (north) or Orion (winter) to orient the sky.
- Observe the object’s color and steadiness: blue-white with strong scintillation → likely hot star; steady yellow-white → possible planet.
- Check position relative to ecliptic: is the object close to the line where the Moon and Sun travel? If yes, suspect a planet.
- Use binoculars/telescope: look for disk or moons (Jupiter, Saturn) — disks and moons confirm planets.
- Capture an image and run it through Orvik or a star-chart app to get an automated ID and catalog data (magnitude, RA/Dec, spectral class).
- Confirm over multiple nights for motion: if it drifts along the ecliptic, it’s almost certainly a planet.
Seasonal and geographic notes
- High northern latitudes: Polaris sits higher; some southern constellations never rise.
- Southern Hemisphere: the south celestial pole lacks a single bright star; use the Southern Cross (Crux) to find south.
- Seasonal visibility: Orion prominent in winter for northern mid-latitudes; Scorpius and Sagittarius dominate summer.
6. Common Comparisons: How to Tell Close Lookalikes Apart
Many search queries lead to confusion between similar-looking objects. Here are side-by-side rules to separate common pairs.
Star vs Planet
- Twinkle test: star = twinkle, planet = steady.
- Motion test: planet moves relative to stars over days; stars do not (on human timescales).
- Positional test: planets lie close to the ecliptic; bright stars may be well off it.
Polaris vs Other Bright Northern Stars
- Polaris is near the pole; it will appear nearly stationary as other stars rotate around it.
- Bright stars like Vega and Deneb are much farther from the pole and participate clearly in the nightly rotation.
Planet vs Bright Star (e.g., Venus vs Sirius)
- Venus often appears in twilight near the horizon and is much brighter (magnitude down to −4.6).
- Sirius is higher in the sky (season dependent) and twinkles more due to atmospheric scintillation.
7. Naked-Eye, Binocular, Telescope: What Each Shows
Your identification techniques change with magnification and light-gathering power. Use the right tool for your target and question.
Looking beyond this category? Check out Inside the Acai Berry: Nature’s Amazonian Purple Fruit.
Related reading: Mastering Image ID: From Lens to Lab.
Naked-eye
- Best for learning constellations, locating Polaris, and spotting very bright planets (Venus, Jupiter).
- Limit: stars appear as points; color judged subjectively; magnitude limit ≈ +6.0 in dark skies.
Binoculars (7x–10x)
- Reveal star clusters (Pleiades, Hyades), some double stars, and Jupiter’s Galilean moons under steady skies.
- Field of view is wide—good for learning patterns and pointing a telescope later.
Small to medium telescopes (4"–10" aperture)
- Resolve planetary disks, view Jupiter’s cloud belts, Saturn’s rings, and many deep-sky objects.
- Aperture defines light-gathering: 6" Dobsonian gathers ~2.25× more light than a 4".
8. Safety, Etiquette, and Common Pitfalls
Stargazing is benign, but a few safety and legal considerations keep you and others safe and preserve dark skies.
Safety and etiquette checklist
- Never point optical equipment at the Sun without a certified solar filter—permanent eye damage can occur.
- Use red light torches to preserve night vision; white light degrades adaptation for 20–30 minutes.
- Respect private property and local park rules—many observatories and reserves have strict policies.
- Avoid laser pointers: they can create aviation hazards and are illegal in many jurisdictions.
- Beware of uneven terrain at night—bring a headlamp, warm layers, and a plan for emergency communication.
Conclusion: From Curiosity to Confident ID
Star identification combines simple visual rules—color, steadiness, position—with seasonal knowledge and modest equipment. Learn a few anchor constellations (Polaris, Orion, Scorpius), practice the twinkle test, and confirm with binoculars or Orvik when in doubt. Over weeks you’ll build a mental map of the sky: which stars are fixed landmarks, which points wander as planets, and how seasonal shifts change the stellar tapestry. Use the checklists here as a portable guide; with patient observation and the right tools you’ll confidently name what you see and understand the physical story each point of light tells.
Frequently Asked Questions
- How can I quickly find the North Star (Polaris)?
- Locate the Big Dipper’s bowl and draw a line from Merak through Dubhe about five times that distance to find Polaris; Cassiopeia’s W also points to it.
- What’s the easiest way to tell a planet from a star?
- Planets generally shine steadily and lie near the ecliptic; stars twinkle more due to atmospheric scintillation and remain fixed relative to each other night-to-night.
- Which app or tool is best for identifying stars from photos?
- AI-powered apps like Orvik work well: take a steady photo (include the horizon if possible) and the app matches the image to star catalogs and constellation maps.
- What do star colors tell me?
- Color indicates surface temperature and spectral class: blue (O/B) is hottest (>10,000 K), white (A), yellow (F/G like the Sun ≈5,800 K), orange (K), and red (M) is coolest (<3,700 K).
- How bright is Polaris and how far away?
- Polaris is a yellow-white supergiant in a multiple system, roughly magnitude 1.97 (variable) and about 430–440 light years away by current parallax estimates.
- Why do some stars appear brighter than others?
- Apparent brightness (magnitude) depends on intrinsic luminosity and distance; a luminous star far away may appear fainter than a closer, dimmer star.
- Can I use binoculars to identify planets?
- Yes—7x50 or 10x50 binoculars can reveal Jupiter’s moons and hint at planetary disks; telescopes are better for surface detail and rings.
- Is it safe to point lasers at stars?
- No. Laser pointers can threaten aircraft and are illegal in many areas; use red LED lights for sighting and apps like Orvik for identification instead.